As mentioned earlier in my blog about fitting solar panels, Calor Gas had attempted to get rid of the smaller gas cylinders used by many boaters, myself included. This is what drove me to starting the electric galley project.
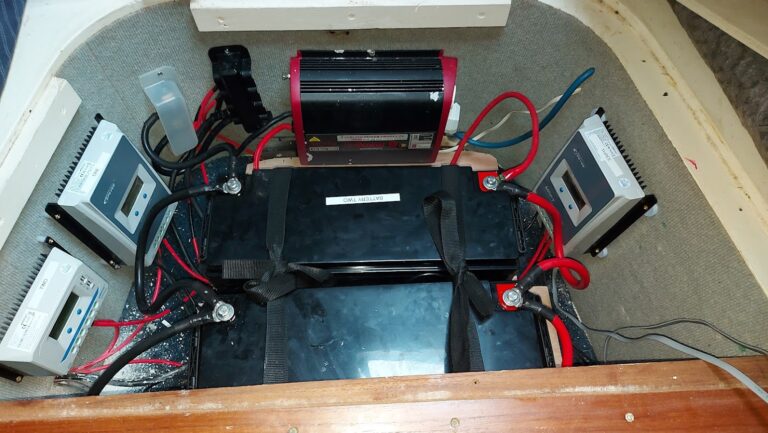
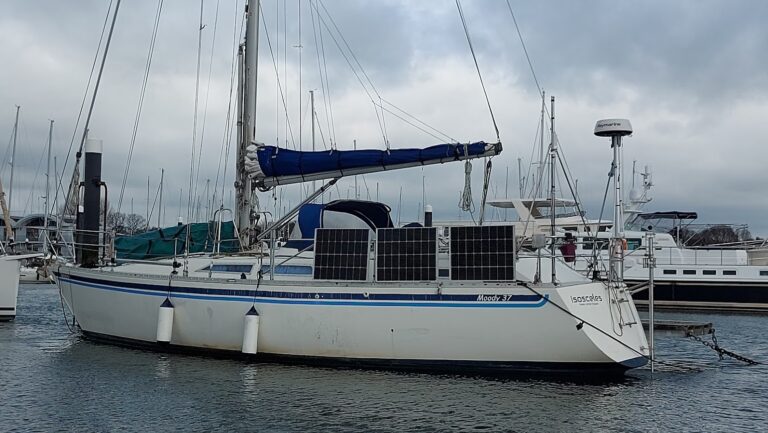
Before I got to this stage I have already reorganised the battery bank [see here] and fitted a huge array of solar panels [see here]. Finding an induction hob that could fit without major surgery to the galley was next on the list. Of course I shouldn’t have worried, major galley work wasn’t far away.
While searching for an induction hob the Moody owners club magazine landed on my doorstep. Another owner had done exactly what I planned. The Vango two ring induction hob would fit within the space of the old boat cooker. As luck would have it the local camping shop had one on sale.
Gimbaled shelf
I set to work building a gimbaled shelf that was the same width as the old cooker, and sized to fit the induction hob snugly on top. My carpentry skills are not the greatest I will admit, but they are improving with practice. It took me some time to build the shelf as I would cut some sections, clamp them together, and then leave it until the following day to see if I was still happy with them. At the end I decided I would paint the cooker shelf, as much to hide the imperfections in my work as anything else.

Once I knew how tall the shelf was going to be I started to build a cupboard for pans in the space under the hob. This was quite easy, and just involved putting a flat shelf across the space. Then it was just a matter of trying to fit a cupboard door. That wasn’t so easy with my lack of skills, but trim can hide a multitude of sins.
You may have noticed I’m not fitting an oven here. I do a lot of cooking in a Remoska cooker. These are a great device, I cook anything from Jacket potatoes to bread, roasts to pasta bakes. It really is versatile. If I’m cooking on a slope then it sits quite nicely on the sink to stop it sliding around. Of course if it is, or is likely to be, rough then I’m not going to be having any hot pans out anyway.
Stripping out the old
The old cooker was definitely past its best. It was original to the boat and so was nearly 40 years old. Removing the old cooker revealed a whole heap of nastiness! I removed the rail, pan holders and gimbal mounts, then set to work getting rid of the grease and gunge before putting the cooker out for recycling.

Cleaning the opening for the cooker wasn’t quite so bad, but unfortunately the metal sheeting used as a heat protection is textured, which made cleaning it time consuming to say the least.
Once I had cleaned up the pan rails and gimbal that I took off the old cooker I set about mounting this to the shelf. I had carefully built this to be the same width as the old cooker so i could re-use the mounts. Finding where the balance point with a half full pan on the hob while balancing the shelf on a stick was a lot of trial and error. Eventually, and for once, everything just dropped into place and the cooker was ready for use.

Next steps
I decided if I was doing all this work the I would also replace the fridge. Why not if I’m redoing half the kitchen anyway! More on that to come …


